Here are just a few of my creations - I mainly make cards, but I've been known to dabble

Thursday, 27 February 2014

Mother's Day 2014 (Number 2)

Hey there!  Surprise!  Another blog entry for you to peruse and another card for you to enjoy!  I was watching Christina Griffiths (CardmakingMagic.com) on youtube last night and she made a card that inspired me and resulted in my latest creation.

I've finally got some kraft coloured cardstock in my stash (been wanting it for a while) and this card was made using the 12x12 sheets from CraftOnline.  It isn't very strong cardstock but when you reinforce it with a few layers, it's just right.  *smile*

Anyway, I really like how this card turned out, so much so that I wanted to finish it before I jumped online to chat with my other DUS friends.  (oh, DUS stands for Down Under Stampers, I don't think I've mentioned us all before.)

Well here it is, I think I will make a few more.  The diecut was only cut half way by placing the plates half way only on the die.  I chose not to emboss as Christina did on her video here, as I was going to cover it with a white die cut anyway, so I didn't see the point.  I also didn't put loads of embellishments on there, I think the simplicity on this card is rather elegant (even if I do say so myself!)

Enjoy! and thanks always for stopping by!


Cheers

Monday, 24 February 2014

Scrapbook Boutique Challenge Entry

Hi everyone, yep it's me again, 3 entries in such quick succession can only mean a dry spell (work week) is ahead of me (and possibly you too!).

Today I'd like to invite you to view my entry into the latest Scrapbook Boutique Challenge, the prize is a $30 voucher for use in the store, but it's only open to Australian residents as they do not as yet sell overseas.

The inspiration for the challenge is this picture, which has lots of lovely colours: 

And here is my entry, which I haven't entered into any other competitions (even though I could have it in up to 3).  Oh! And I tried to use some lighter pink flowers but you couldn't see the definition in the petals properly and they just looked a bit like blobs, so I had to go with this darker pink - hopefully that is ok!


Wish me luck and happy crafting to you!
Cheers for stopping by


Inspired by Marcelle - Torn Base Birthday Cards

Hello again, I hope you're having a wonderful day or night.  For myself, I enjoyed having a day off work today and have had a rather enjoyable weekend making a set of cards that I hope you will enjoy.

My inspiration came from my friend Marcelle, she found a blog post by Marelle Taylor and alot of us have been having a go at making them since Marcelle ran with it and inspired us all!

Basically, the gist of it is that you make a card base with coloured cardstock, tear off part of the front part and then replace with other/white cardstock stamped with designs on there.

Here are the ones I've made, first picture is the front, second is the insides.  I hope you enjoy looking at them as much as I did making them!


Cheers and have a happy creative day!

Sunday, 23 February 2014

Owl Birthday Pop Up Card

Hi everyone, I think it's past time for an update (again, sorry about that long wait!).  I hope you're all doing well and having a lovely crafty time.

Today I'd like to share with you my first go at doing a pop up card.  I didn't have any fancy pop up dies or anything, all I used was good old fashioned scissors.  

My inspiration comes directly from this video by Darlene DeVries.  She did a great job with the card.  I had to improvise as I didn't have any party hat stamps or balloon stamps.  I instead made party hats by cutting a 2cm x 2cm square of paper, marking the centre at the top and then drawing lines from the bottom left and bottom right to the centre and cutting out the resulting triangle (hat).  To replace the balloons she stamped on the background, I attempted to make wallpaper and flooring.  It's a little rough, but for a first go, I'm pretty happy with it.  It has a heck of a lot of work involved and I decided to keep it myself!  I can use it as a prototype but really, it's so cute I just want to be able to look at it for more inspiration!  The owls are made with a StampinUp punch and paper pieced together.  Here's a pic of the punch and the final card I made.


Thanks for stopping by and having a gander!
Take care and happy crafting to you!

Saturday, 1 February 2014

Fluttering Fairy

Hi everyone, I thought I'd just pop in quickly and share my latest card creation with you.  This is a fairy from Whimsy Stamps that I fell in love with and just had to have - along with several others of course! 
Here is a pic of the wonderful haul that I got from Whimsy Stamps:
And that wonderful company included three free stamps (the red rubber ones) with cute sentiments that say: "I shut my eyes in order to see" and "Home is where the heart is" and finally "Summer memories last a lifetime".  Don't you just love freebies?  I sure do!
Anyway, back to the point (I know, I do tend to wander around the point sometimes)...  This is the first fairy I've played with from that order and I quite like how she's turned out.  I decided to step outside of my comfort zone and choose a different colour - and the winner was Green!  I don't use it much so that qualifies in my book.  I used a white cardstock base, stuck a green spotty panel over the whole front and then the panel with the fairy, which is mounted on a spellbinders die cutout.  A few gems and of course some clear wink of stella on the dress and stickles glitter glue on the wings and hey presto - a beautiful fairy.  The sentiment stamps are from Simon Says Stamp and I thought they fit rather well as the fairy is blowing...(I had to cut the little stars out, and now she looks like she's blowing out the candles, I think).


I also was rather lucky and received more happy mail from Lawn Fawn and an ebay store - which I highly recommend called Aunt Arabella.  Here are the goodies:

Well, I have been rather stuck, had computer problems this week also, but now it's working again and I hope it keeps working as I don't know why it stopped in the first place!  Computer withdrawal is not so much fun!

Have a happy, productive and crafty day!
Cheers

Sunday, 19 January 2014

Past Time For A Catchup I Reckon

Hello you lovely people, sorry I have been MIA again, I have been rather un-inspired lately and instead of making cards I've been doing a lot of window shopping and online shopping for crafty stamping products and watching a lot of youtube where other people are doing all the creating! 

I have a few new pics for you though, so lets get into it!

Ok, these two cards were made for a challenge on StampTV called Merry Moddy Christmas 2.  The link to the challenge has disappeared but a link to the entries for it is here.


I made this card for Liz, one of my StampTV friends as she sent me a special card to celebrate the season for 2013.  I really like how it turned out.  It is inspired by a youtube video tutorial by Robyn at injoystampin, which you can view in two parts here and here.

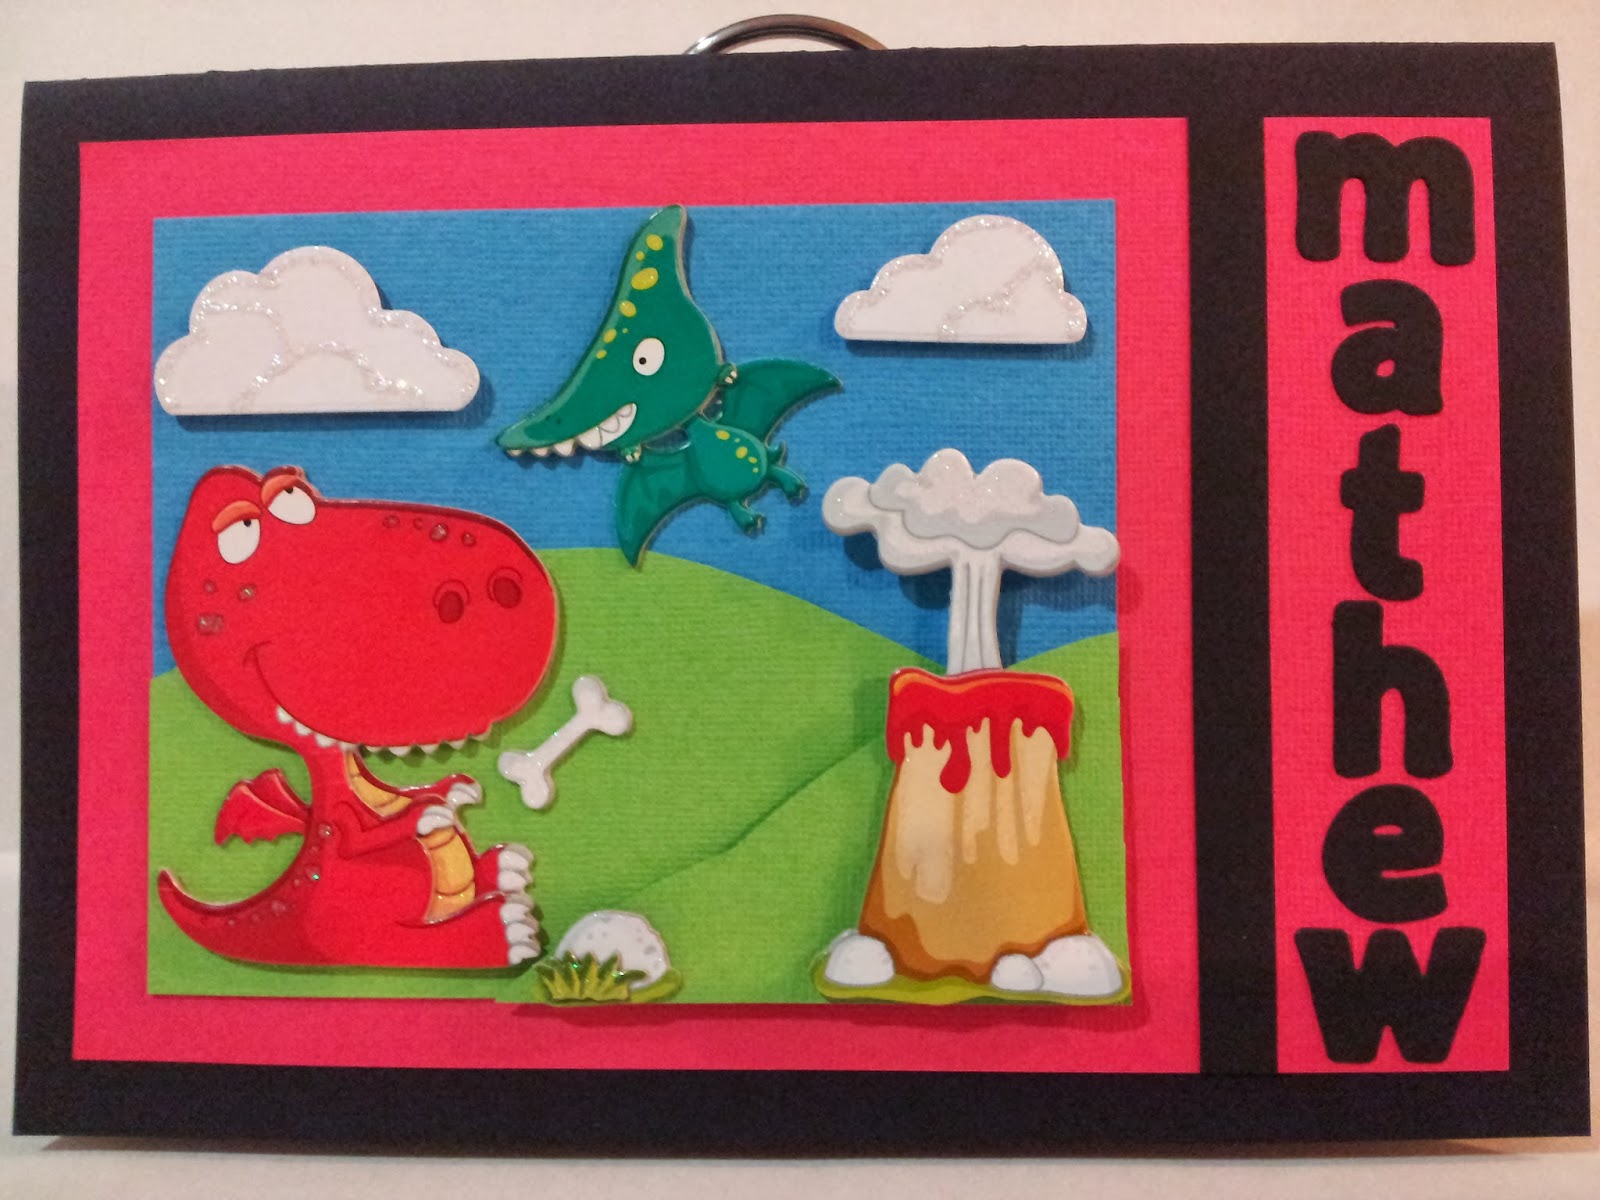
This card was made for my friend Carolyn's son Mathew, who was turning 5.  The dinosaurs and volcano dimensional stickers were bought from The Reject Shop.  I made the clouds and the hills myself though.  The second picture is of the inside, where I managed to fit the Happy Birthday.  Thankfully Mathew loved it!


With this next card, I thought I'd posted it previously, but it looks like I didn't.  It was entered into another StampTV challenge called Mix It Up Monday Dec 16 - Love is in the air!  To view all of the entries you can click here.
And guess who won that challenge?  Yep, me, I did, and they sent me this awesome prize!


And I think that about brings me up to date with today's card.  This image was sent to me by another StampTV friend called Virginia, who very nicely fullfilled my fairy stamp wish by stamping me a bunch of her stamps.  I really like the way this one turned out, but I have to tell you, the Spellbinders Dies that I used are called Elegant Labels 4 and my cuttlebug did not want to cut the outer one, it kept missing the top and bottom of the die. Oh well, I've now decided that it's almost time to upgrade because I want the largest dies, so I plan to get the Big Shot Pro hopefully around June 2014.

I tried masking the fairy image but I had the masking plastic sheet backwards so the sticky side was around the wrong way, lol.  My second attempt was much better and around the right way, but I didn't place it over the fairy properly and after attempting to put a glow around the fairy I discovered white spaces around parts of her that shouldn't be there.  I went around her with a black fineliner, which looks alright I guess but next time I will need to be more careful.
And this picture shows how glittery the fairy is with clear wink of stella pen all over her.  I also coloured the white panel under her with the pen, twice and it went super glimmery - like glitter cardstock without the texture!

Well, I hope you all have a lovely crafty day and until next time, take care!

Regards and thanks for stopping by!